So, its been a crazy few weeks and I haven’t posted as much as I’ve wanted too but hey, that’s life and that’s the reality of having a full time job and raising kids. Todays post is a bit different as its me stepping a wee bit out of my comfort zone and getting a bit messy with the kids. Ive been inspired to do more messy/sensory play by the wonderful Nadhz of Nadhz’s Adventures blog who is always doing such creative and imaginative things with her boys. Pumpkin carving is nowhere near as exciting as all the different things she does but its me tiptoeing in the right direction…ish!
Although we bake together all the time which usually results in floury fingers and noses, I don’t do as well when its comes to messy play although I do like doing messy play as the kids love it…I just can’t deal with the mess. I think its because when I’m baking I can control the ‘mess zone’ whereas messy play materials can get flicked everywhere. Anyway, I’m overlooking the mess and we are going to carve some pumpkins. We don’t really do Halloween in our house but I think this is a fun and creative to entertain and occupy my two little ones for a while.
We used:
- 2 pumpkins
- 2 Pumpkin carving kit which includes a serrated tool, scooper, punch tool and designs (£1 each from Morrisons)
- small knife (used by Mummy AKA Mrs Be)
- Tea lights
- PVC wipe clean table cloth (this was a must…for me anyway)
The pumpkin carving kit came with designs, I wanted the little people to show off their creative flair by drawing their own funny/scary faces but they didn’t want to so we decided to use the ready made ones instead. Meh, maybe next time.
First step was cutting the pumpkin open from the top. We used the serrated tool for that which I thought would snap as soon as I tried to cut the pumpkin open. It did bend a little but once I got the hang of how much pressure to put on it, it worked really well.
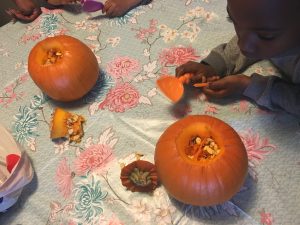
Next, we needed to scoop out all the seeds and stuff inside. The little people loved doing this…I felt like I was doing one of those bush tucker trials which they found hilarious as I was making all sorts of ‘yucky noises’, apparently. After about 5 minutes of scrapping out the insides our pumpkins were seed free and ready for carving.
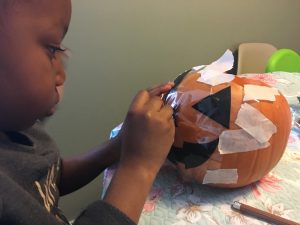
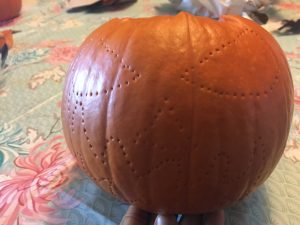
We then secured our chosen designs (there are 6 to choose from) to the front of our pumpkins with masking tap, which proved to be a little fiddly as the pumpkins are curved but we got there in the end. The punch tool was the next piece of equipment we used. This was very effective as it allowed us to punch small holes to outline the eyes, nose and mouths. The little people enjoyed jabbing tiny holes but they did get tired of doing this so I took over. The muscles in their hands and fine motor skills are still developing so that’s probably why they tired so quickly.
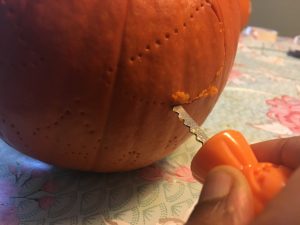
Once all the holes we jabbed, and whilst holding the pumpkin firmly, we used the serrated tool again to cut out the eyes, nose and mouth. This was really simple and my son loved doing this.
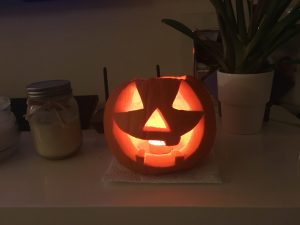
The punched holes made it really easy for him to cut through the pumpkin. Once all the features were out we wiped the pumpkins off and put some tea lights inside.
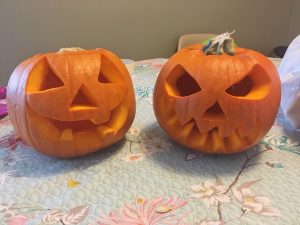
And voila! Two carved pumpkins.
I have to say it was not as messy as I thought it would be and we had a lot of fun. It was something different, something I wouldn’t normally do with the kids and they loved it. They were so proud of their Jack O’Lanterns. Thanks to my new wipe clean table cloth all mess was cleared up in minutes. I think I need to chill out about mess and do more messy play, after all there is nothing a little elbow grease can’t get rid off.


